Customer reviews are collected from auto-forums, YouTube comments, Facebook wall and email surveys.
If still not impressed – for trully independent reviews check out our eBay feedbacks.
-
Bluetooth and iPhone/iPod/AUX Kits for Acura TSX 2004-2008
October 21, 2013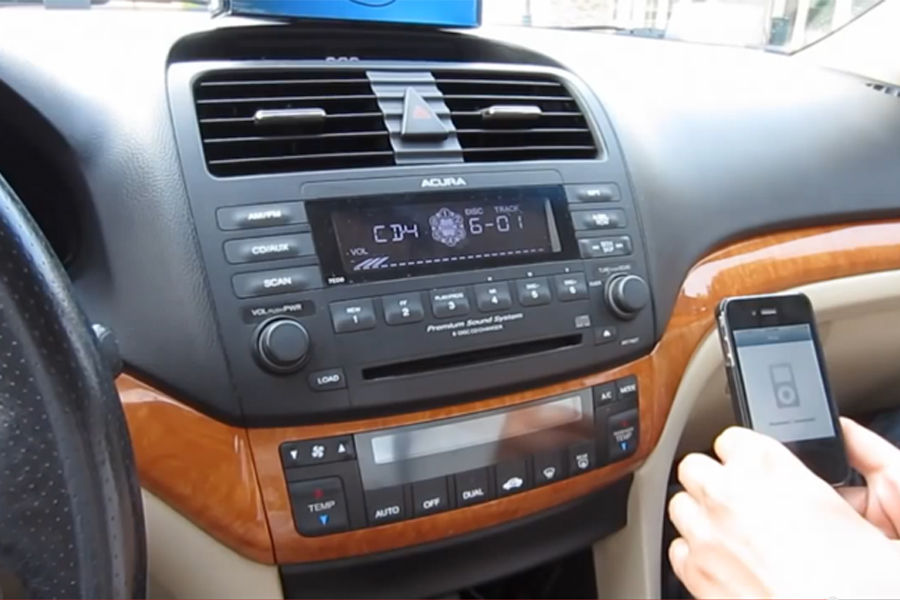
-
Bluetooth and iPhone/iPod/AUX Kits for Acura TL 2000-2003
October 3, 2013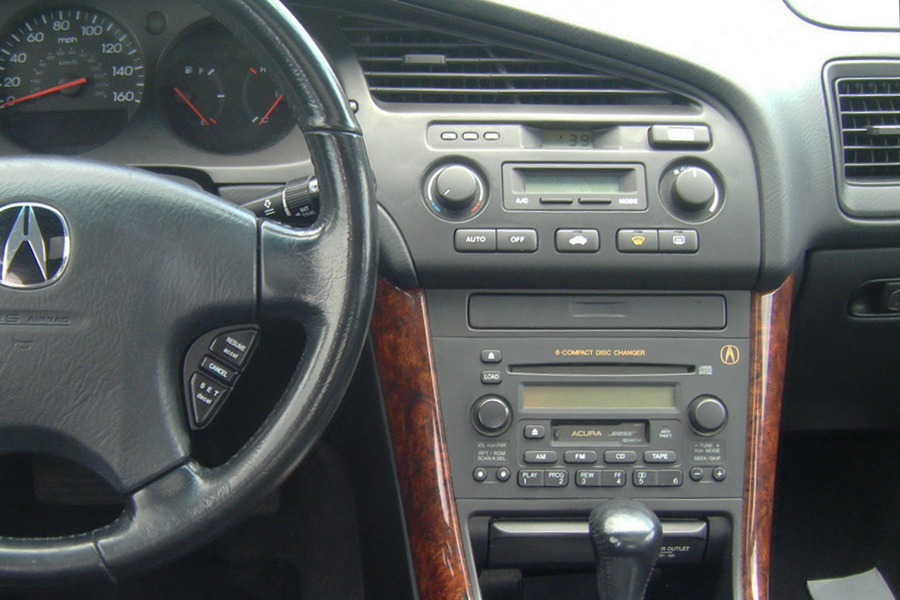 - Paul
“I first wrote to you saying your video was very well done but NOW, it is just awesome!!!
Having a 2000 TL it’s amazing to see how car stereo has changed in such a short time. Of course, I’m old enough to remember having an 8-Track player between the front seats. But we also had .26 cent gasoline then too. Now I read CD’s are on their way out. Oh well.
The kit went in without a hitch. Acura really screwed this car together. I did move the control unit into the center console box since there was a long enough cable, by drilling a 1 inch hole which will get a grommet. It sounds fantastic with the iPhone. To think I was planning on replacing the head unit. I’m glad I didn’t. I didn’t realize there was that much power in the radio from just listening to radio stations.
Anyway, I’m glad I found your You Tube Video for my car. Excellent People, Excellent Service, Excellent Company, and Excellent Product.
Thanks so much”
-
Bluetooth and iPhone/iPod/AUX Kits for Mazda 6 2006-2008
September 22, 2013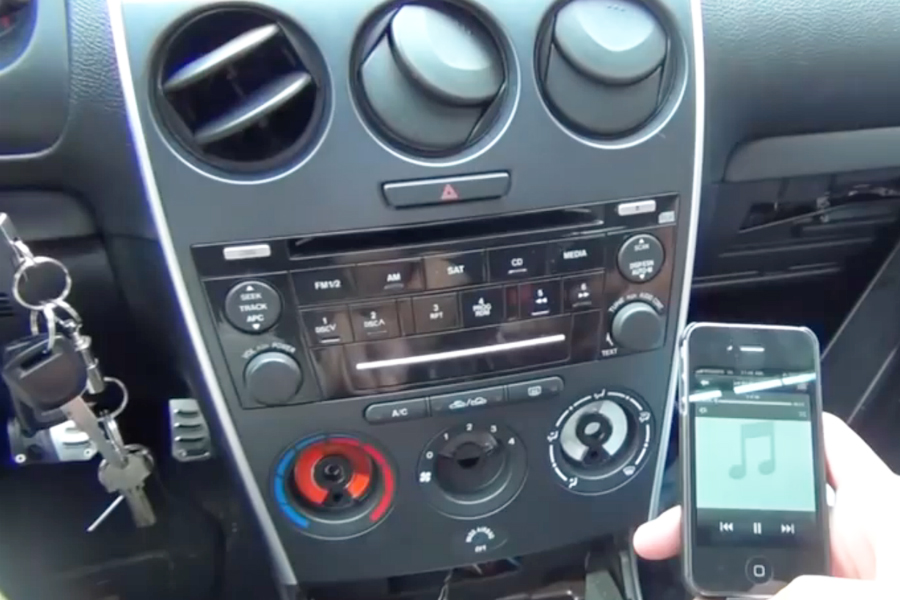 - Dex
- Dex“GTA Car Kits Crew – I wanted to thank you for a wonderful experience all around with my new Mazda iPod/iPhone car kit.
First of all, thank you for a quick delivery; it only took two days from the time I ordered to the time it showed up in my mailbox (and I placed the order on a weekend).
I don’t consider myself handy with much and removing my own car stereo made me nervous. After visiting countless dealerships, big box stores, and other installers – all of whom quoted me prices ranging from $350-700 for install – I gave your car kit a second look.
The video posted on your site made me believe I had a shot at installing it myself without too many problems, so I decided to order it and give it a try.
I had the kit installed within 45 minutes, and most of that time was spent trying to get my fat hands behind the stereo to get the 10mm screw reinstalled. No screws lost, no clips broken, and the kit works just as advertised!
Thanks again. My commute to work will be much more tolerable from now on.
Cheers.” -
Bluetooth and iPhone/iPod/AUX Kits for Toyota Celica 2000-2005
August 30, 2013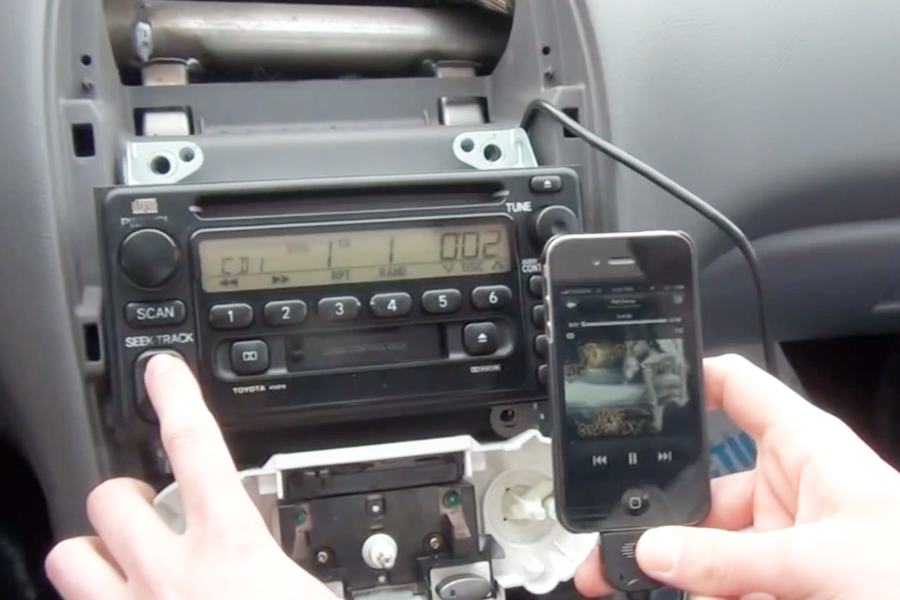 - G. from Manassas, VA, USA
“I heard about GTA Car kits through the Internet. I was going through YouTube and I came up with this website. I have series xm on my car and it uses an fm transmitter which lost connection all the time. I wanted to improve the sound so I thought that by buying this product I would improve it. I actually bought two for my cars and I love them.
Shipment was very fast, took about 3 days and both if the packages were home. Took me about 20 mins installing it, very quick and easy. The tutorial video on YouTube helped me a lot.
I’m using an iPhone 5 which works perfectly. I need to learn more about the features but I really like the product. I ran the cables through the glove box. All that I needed came in the kit. I don’t have a negative comment about the product and I would recommend the product to everyone. It’s really easy, and fun to install.”
-
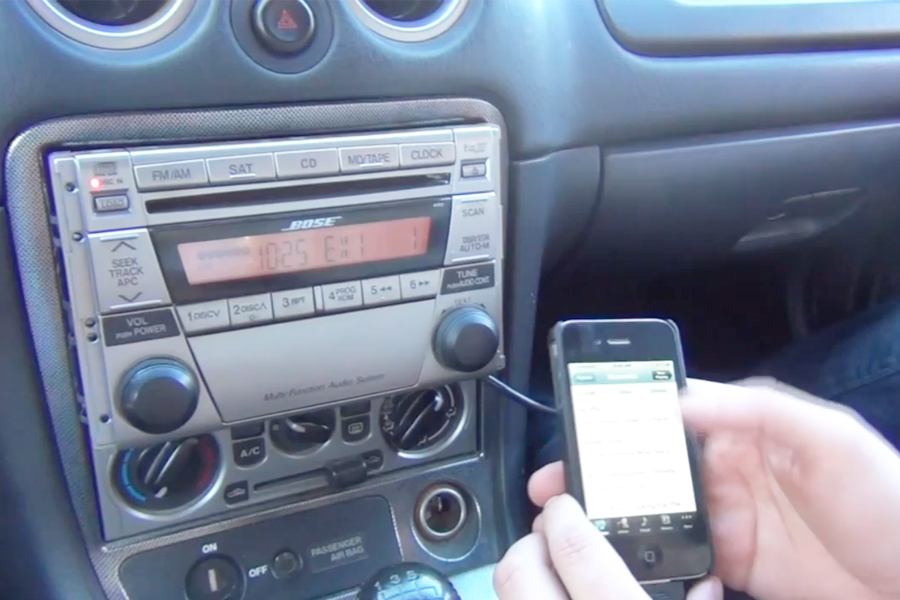 - Marv & Connie from Boise, ID, USA
“Exactly as promised!
We have a 2005 Mazda Miata Mazdaspeed – Lava Orange Mica without a MP3 connection. This product fits the bill and is easy to install.
It took less than 30 minutes to complete the installation, including making the tools to remove the stereo. Thanks for the great YouTube video showing the entire installation and use.
We give this iPod/AUX adapter from GTA Car Kits 5 out of 5 stars and a big thumbs up. We are recommending it to others in our Miata Club that need a MP3 or IPod connection.”
-
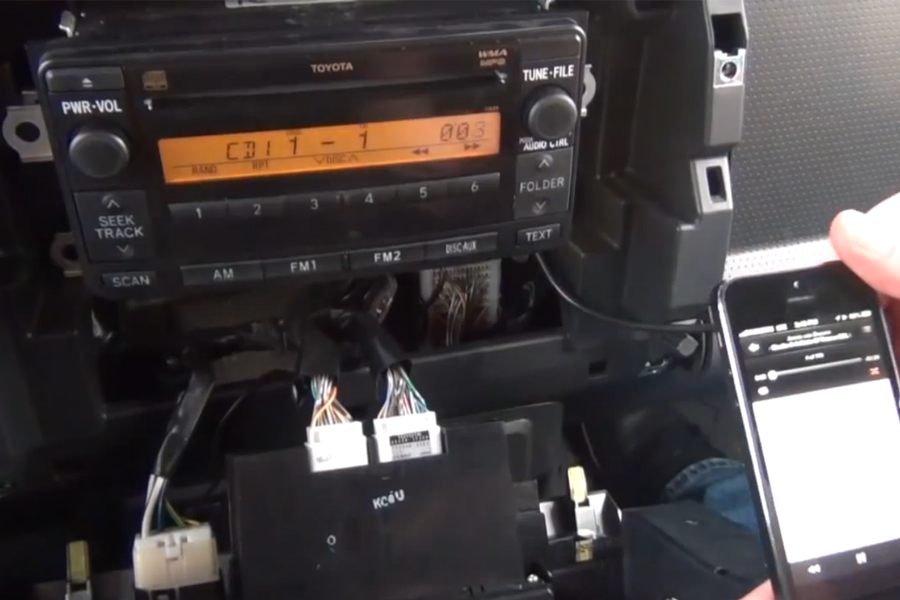 - Ward from Flagstaff, AZ, USA
“Found GTA Car Kit though FJ Cruiser Forum. I picked it because it was the best bang for the buck.
Hardest part about the installation was getting the trim off the radio, took about 30 minutes to install with no extra tools and the installation video was priceless.
I am using an old 30Gb Classic Apple Ipod which I ran to the glove box. The best feature is being able to control songs through the steering wheel. The only problem is that on the 2013 FJ Cruiser the name of the song does not show up on the display just the track number.
I still think GTA Car Kit a good value the only thing I would recommend to friends is look very closely at the compatibility chart and don’t assume the newest car model you have is compatible.”
-
Bluetooth and iPhone/iPod/AUX Kits for Lexus RX 2004-2009
August 8, 2013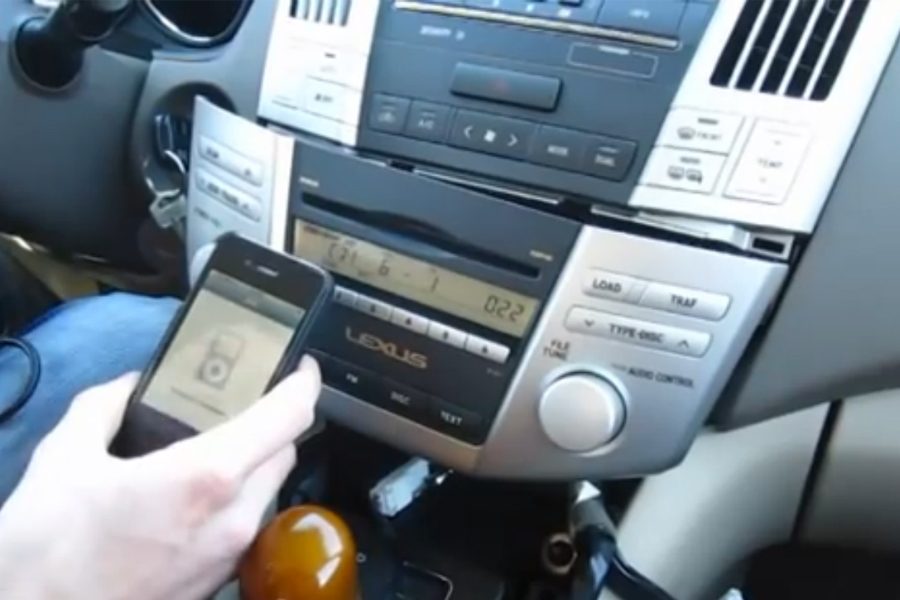 - Steve from Ford Myers, Florida
“Let me first say that I ordered my kit and had it in a few days.
Watched the video a couple of times just to make sure that I understood everything. The only question that I had was about the key being on while removing the panels (the gearshift lever should be in neutral for easy removal, therefore the key had to be on to move the lever out of Park). It only took a couple of minutes to remove the panels. I was careful not to let the antennas plugs come undone. I didn’t need the harness since I had an open female receptacle.
Once I tested it, I started looking to route the cable that goes from the unit to the iPod. This is what took the time, though the overall installation was only a little over an hour once I figured how to route the cable. In the ’05 RX330, I couldn’t get to the glove box easily. Therefore, as shown in the video, I went down behind the passenger foot panel and brought it out into the footwell, close to the console. It took a few minutes of trying to feed a wiggly cable before I got smart and took a long dowel, pushed it down through the space to the opening in the footwell, and taped the cable from the iPod to the end of the dowel. Then I pulled it up through the ins and outs of the framing to the console opening.
Once secured to the GTA unit, for security, I taped the cable to the unit, then wrapped the unit with a folded plastic bag for cushioning (hoping to eliminate any rattle that might take place) and taped it up. On the video, the installer recommends putting the box in a space that’s in the back right behind the radio unit. It fits perfectly and is out of the way. Once all that was done, I buttoned everything back up.
I bought a magnetic tool as recommended, that hold up to 15 pounds. Great investment! Removing the radio, I thought that there were nuts behind the bolts and was trying to be very careful. But, the bolts thread directly onto the frame. You just need to back them out most of the way, then put the mag tool onto them and continue backing them out safely. Putting it back together, I used the mag tool again to start the radio’s bolts and screw them loosely until all four bolts were in place, I finished with the socket wrench, then popped the two remaining pieces into place.
Could have taken even less time if I would have known where and how I was going to route the iPod’s cable. But, I’m good to go. Good instruction and product. Crystal clear music.
And, for you kids out there… I’m 71. So, if I can do it, you’ll have no problem. Hope this review helps.
All the best, Steve”
-
Bluetooth and iPhone/iPod/AUX Kits for Honda Fit 2006-2008
August 7, 2013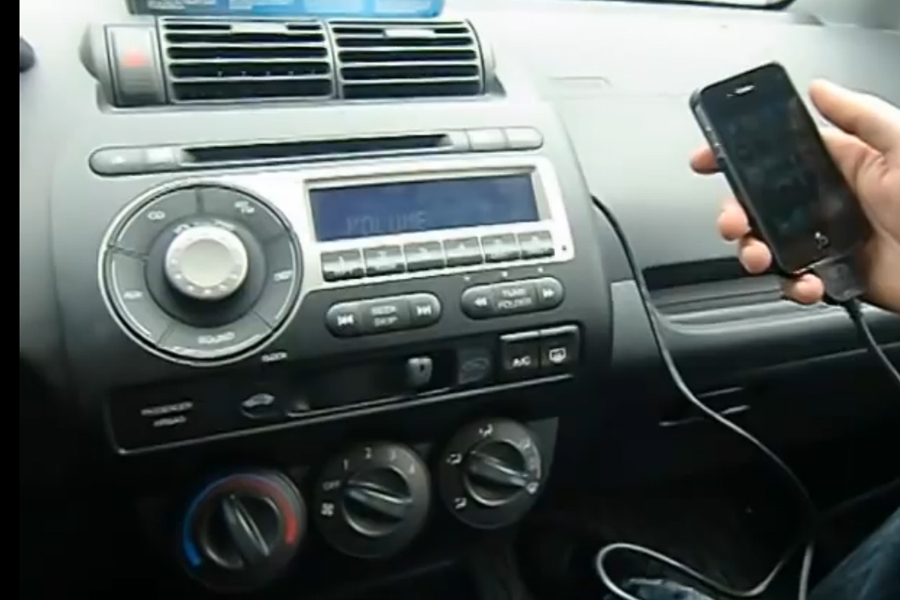 - David, Goodna from Queensland, Australia
“I have received your carkit for my Honda Jazz 2006. Although the model of the Car shown in the video was of a different year, the instructions were fairly similar.
Once installed, I was very happy. Your product was amazing & was well worth it. Shipping was on time & I am enjoying this product on my Ipod Classic.
Thanks”
-
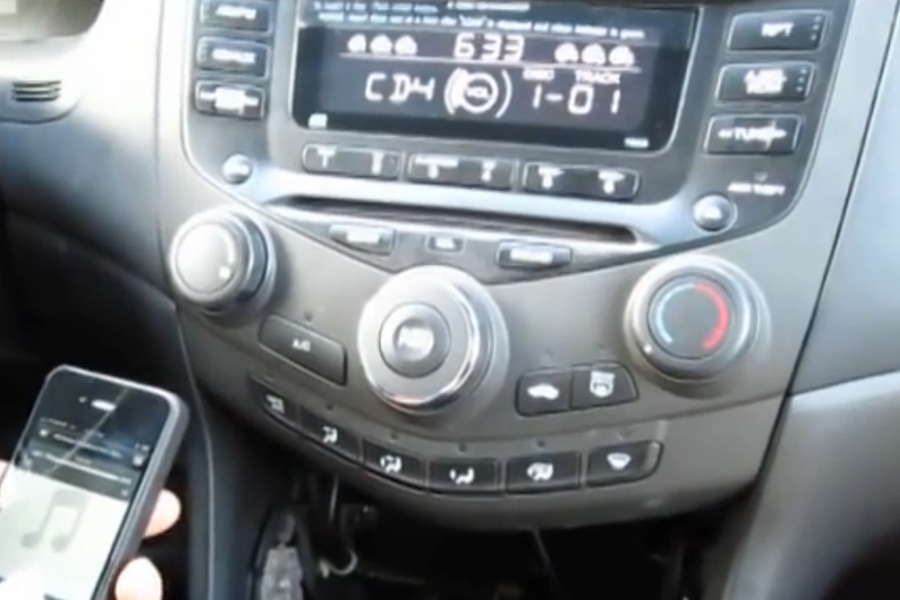 - Teri
I just wanted to say thanks for making such an awesome product. I’m very much a girl that believes on paying people to do things right, but I saw your YouTube tutorial on hooking up the car kit and although the task seemed daunting I was determined to give it a try.
A company here in Connecticut offered to hook it up for $125 but I thought I’d give it try. In about 30 minutes, I was able to remove the center pocket, hook up the kit, drill a hole in the pocket, and put everything back together. With the proper tools, there’s no damage to my vehicle and for the first time my iPod sounds great no matter where I drive.
You’ve made this customer extremely happy and I am spreading the word!
Thanks
-
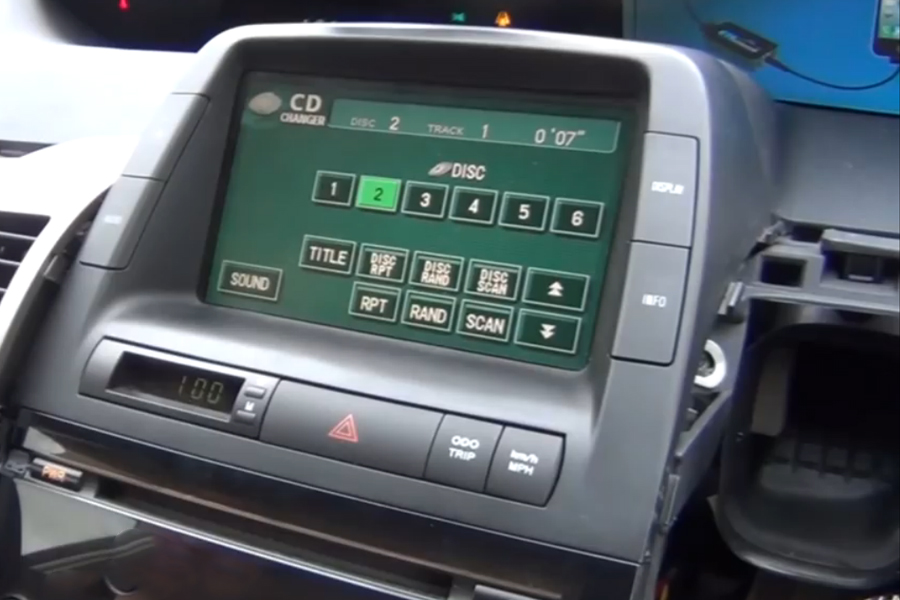 - Patty M. from St. Paul, MN, USA
“Thanks for the great product. I just finished installing a GTA Car Kit for my 2007 Prius and the sound is great! I had been trying to listen to my iPod 5 through a radio frequency–this is SO much better. I listen to music, lectures/iTunes U and audio books on my iPod, but could really only listen to music on the radio frequency adapter. Now I can listen to/hear them all clearly.
The customer service was great. I emailed a few questions about connections for an iPod 5 and the product and I got a timely response back. BTW–you can use your iPod 5 with the kit, but you need an official Apple 30 pin to flash plug adapter to connect it to the car kit cable (I found mine at Target). Ordering the kit was easy and shipping was fast.
Installing it was a little trickier for me than the video showed (he makes it seem so effortless), which was a little frustrating at first. After checking some other youtube videos on “radio installation” I realized that the car parts I needed to remove were just really tight and stiff. After a lot of wiggling, pulling and patience I did get them all out as shown on the video–with two exceptions. One is that the “screw” that is missing (we don’t see it in the video) is not really a screw (in the 2007 Prius anyway)–it’s like a plastic rivet. I had to pry it out using a flathead screwdriver, scratching and bending it a bit in the process. The second part was removing the part with the screen/buttons–I wiggled and pulled and pulled and pulled, I finally had to get my husband to pull it off for me; his hand strength is much better than mine–but being generous he said it was just getting the right angle. Putting it all back together was simple and quick.
Tip: I had my iPad with me so I could watch step-by-step, which was very helpful. All together is took me about 2 hours–however that did include drilling a hole in the little space under the radio. That was a great tip from the video–it stores away nicely and it easy to access.
I am really happy with the product, all-in-all it was pretty simple to install, and that coming from a 50 year old teacher/mom. I’m excited to be listening to audio books clearly on my upcoming 2000 ml. car trip!”

Found GTA Car Kits by searching car forums online for auxilary integration with the factory stereo in my TSX 2004. I picked your kit because FM transmitter would not provide adequate sound quality, and non-factory stereos are difficult to install/integrate in the TSX.
Shipping was quick, less than a week.
Installation was very easy and only took about 10-15 minutes. No tools were required, and the video was very helpful.
I am using the kit with a Samsung Galaxy S4 (AUX), older iPod (non-Touch), and an iPhone 4S. I ran the auxilary cable through a hole in the storage compartment just beneath the stereo. I ran the iPod cable underneath the stereo, and then out from under the plastic center console trim piece on the passenger side.
I like the integration with the CD/AUX button on the factory stereo and the ability to have both an iPod/iPhone connector as well as a 3.5 aux cable. The ability to use the SEEK buttons on the factory stereo to change tracks on a iPod/iPhone is nice as well.
Thanks