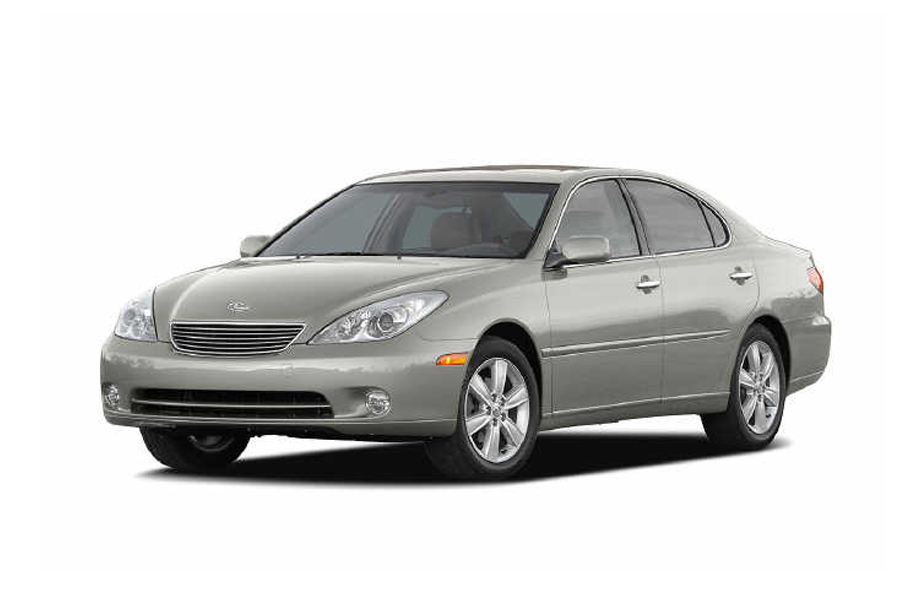
Bluetooth and iPhone/iPod/AUX Kits for Lexus ES 2004-2006
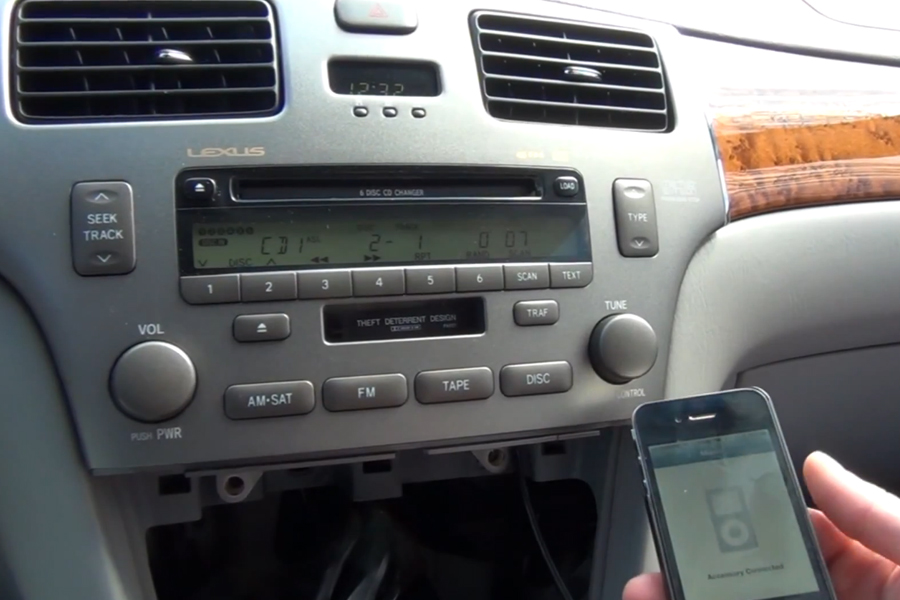
GTA Car Kit for Lexus ES 2004, 2005 and 2006 is all you need to integrate your smartphone, tablet or mp3 player with your stock car stereo system.
We offer iPod/iPhone/iPad/AUX Wired kit with Bluetooth Extension port and Pure Bluetooth with AUX. Please refer to the table below to find detailed comparison between these two products.
We offer iPod/iPhone/iPad/AUX Wired kit with Bluetooth Extension port and Pure Bluetooth with AUX. Please refer to the table below to find detailed comparison between these two products.
Please note:
GTA Car Kits for Lexus ES 2004-2006 supported on cars without navigation only.
INSTALLATION VIDEO INSTRUCTIONS
Installation video for Lexus ES 2004-2006
Disclaimer: install at your own risk
GTA Car Kits is not responsible and should not be liable for any damages caused to you or your vehicle during installation of the kit. All installation videos on this website and GTA Car Kit's YouTube channel provided as a reference only. If you don't feel comfortable with DIY installation - please contact a car audio professional in your local area.
Product Comparison: iPod/iPhone/iPad/AUX Wired VS Pure Bluetooth
| Feature | iPod/iPhone/iPad/AUX Wired | Pure Bluetooth with AUX |
|---|---|---|
| Audio Streaming | Audio Streaming Through Apple 30-pin connector or AUX 3.5mm cables. If you have newer Apple device - use 30pin to lightning adapter Optional Bluetooth Extension (sold separately) allows to stream audio wirelessly. | Audio Streaming Wirelessly through Bluetooth or through AUX 3.5mm cable |
| Track Switching | Track Switching From car stereo controls or steering wheel (iPod/iPhone/iPad only). Note: wireless streaming through Bluetooth Extension does not support switching tracks via car stereo controls. | Track Switching From car stereo controls and/or steering wheel for Bluetooth paired devices including iPhone and Android phones. |
| Sound Quality | Sound Quality CD quality or better | Sound Quality CD quality or better |
| Hands-free calling | Hands-free calling Requires Bluetooth Extension (sold separately) | Hands-free calling Supported. Receive calls and hang-up the phone via car stereo controls. |
| Charging | Charging Supported via Apple 30pin cable (only works with Apple products)Charging output: 5V 1A | Charging Built-in USB charging port (charging cable not included in the kit)Charging output: 5V 1A |
| Kit Installation | Kit Installation Installation requires the removal of the stock radio and connecting the kit at the back via open external CD-changer port. Apple and AUX cables have to be wired outside. If installing Bluetooth Extension (sold separately) - microphone has to be wired as close to the driver's mouth as possible (preferably to A-pillar). | Kit Installation Installation requires the removal of the stock radio and connecting the kit at the back via open external CD-changer port. AUX Cable and optional Charging Cable have to be wired outside. Microphone has to be wired as close to the driver's mouth as possible (preferably to A-pillar). |
| Supported devices | Supported devices - All iPods, iPhones and iPads are supported. Earlier Apple devices require 30-pin Apple cable - AUX cable lets you connect any device with a 3.5mm jack - Bluetooth Extension (sold separately) supports any bluetooth-enabled device including Apple, Android, Windows and Blackberry phones and tablets | Supported devices - Any bluetooth-enabled device including Apple, Android, Windows and Blackberry phones and tablets- AUX cable lets you connect any device with a 3.5mm jack |
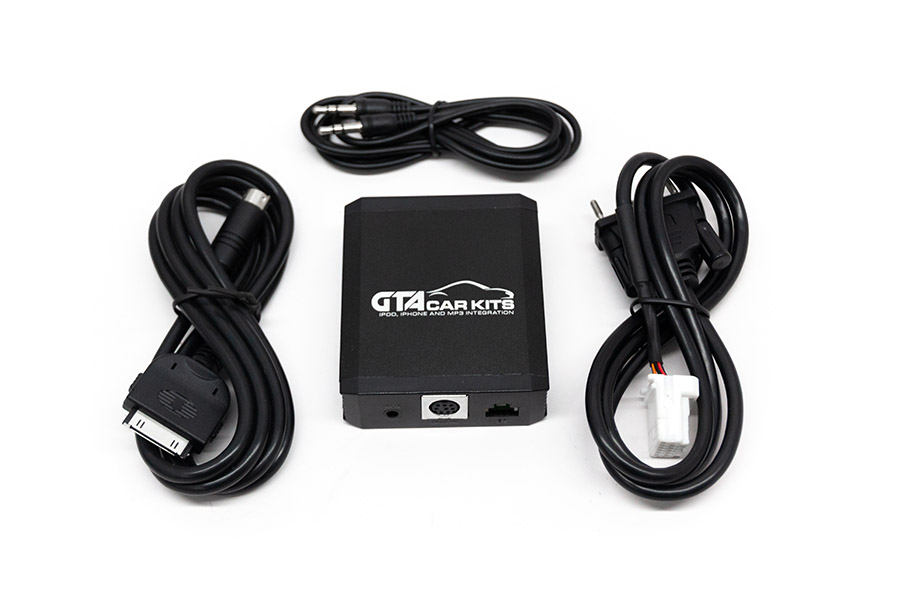
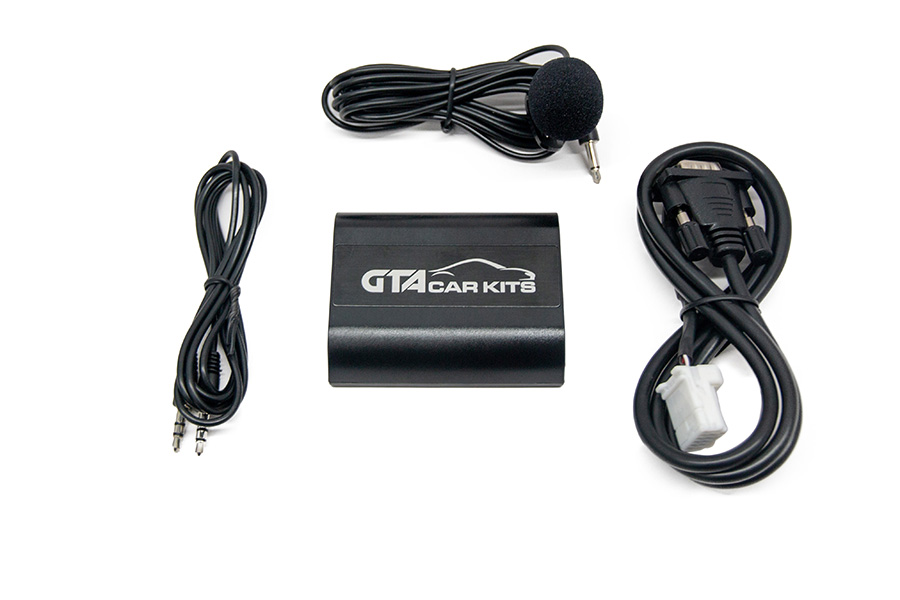
| Kit content | Kit content - Vehicle Specific Harness- Main Module - Apple 30-pin Cable - AUX cable - Splitter Y cable (only when XM or Navigation stereo type is selected) | Kit content - Vehicle Specific Harness- Main Module - AUX cable - Bluetooth Microphone - Splitter Y cable (only when XM or Navigation stereo type is selected) |
| Price | Price Starts at $84.99 USD | Price Starts at $139.99 USD |


Ryan Crawford –
Product worked exactly as advertised. This kit will work with the navigation system as stated in another review, you just need to plug it in to the cd changer port. I was incredibly impressed with the customer service. My package was lost by USPS and even thought the company had every right to not help me they chose to send out a new one. They were also very responsive and informative in the emails. Highly recommend this product, easy install and unparalleled customer service.
Andrew Kerr –
I installed this product in my 2004 Lexus ES330 and it has exceeded my expectations. It produces crystal clear sound and the factory radio controls still work perfectly. This unit is superior to other products currently on the market.
Installation was very easy and the technical support from GTA Car Kits was excellent. I would highly recommend this business!
Dale from Dayton –
This unit will install perfectly on a Lexus with navigation if you do not need the CD unit. Just follow the regular installation only unplug the external CD from the radio-nav unit and plug in the device cable.
Now you have an AUX that works with phone or MP3 player great.
Warren from Burnaby, BC, Canada –
“I was searching out solutions on the internet for my Lexus ES330 and came across your excellent video showing how to install it. I then went to your website to investigate further.
I’ve been using a cassette adapter for awhile now but the player started to reject it after awhile. The solution just became more and more frustrating because it was touch and go, plus the wire was in the way all the time. Additionally, I would have to recharge the iPod.
The GTA solution was PERFECT because a) all the wires are hidden, b) the iPod can stay in the glove compartment and be constantly recharged, and c) I can control the iPod from the dashboard controls (!!) It could not be a better solution.
Shipping was very fast. I received it within a week of ordering, and it was tracked via Canada Post.
The installation could not have been easier. The video was excellent in showing exactly what needed to be done, and the dashboard came apart without any surprises. I did not have to buy any extra tools because you were kind enough to suggest just putting electrical type around the tip of the flathead screwdriver so I could use it to pry the dashboard. Taking apart the dashboard took less than 10 min, although the entire installation took more than 1/2 hour because I had trouble feeding the cables through to the glove box. If it wasn’t for that, I would have been done in 15 min.
I am using an iPod Nano 4th generation, and I ran the cables through to the glove box.
I really like the fact that there are no wires, the iPod remains continuously charged, and I can control it from the CD dashboard controls.
It was a very pleasant experience working with you, as you were very prompt in responding to email enquiries, very friendly, and always gave helpful advice.
Buying the kit was one of the best purchases I’ve ever made, and I have absolutely no regrets. I’ve been recommending the product to anyone I know who may be interested.”